I recently posted a picture of a frog in our garden pond to a neighbourhood facebook group. One comment I received was “What a click! Amazing”. And that (besides being gratifying – one likes to have one’s efforts praised) got me thinking what a tiny part of the photo the “click” really was.
Before the click
The most important thing I did was to decide to take a photo. So many potentially great photos are never taken, for whatever reason. Too much trouble, don’t have camera handy and so on. Once I decided, time was of the essence – the frog would not be there tomorrow, and it may not be there in 20 seconds. Having watched local frogs before, I was pretty sure I had at least enough time to go in and get a “proper” camera. – I didn’t need to use my phone.
My main consideration was the choice of lens. The place the frog was sitting made me think I might be able to get quite close, so I opted for a macro lens (which can focus down to a very short distance), and just in case, I chose the longer focal length of my two macro lenses, a 105mm. I found this was already on my crop-frame camera body, and that was fine, it also turned the lens into a 157mm one, so I could get the same size image from further away. And it was quicker than changing it, as well.
I spent a little time checking the settings on my camera, but I try to leave my camera ready to shoot, with any unusual settings (mostly) reset to a default when I put the camera away, so this was somewhat perfunctory.
Outside again, the frog was still there, and I took several photos, slowly getting closer and closer. This is something I usually do when approaching wildlife, so I have some photos in the can even if the animal gets spooked.
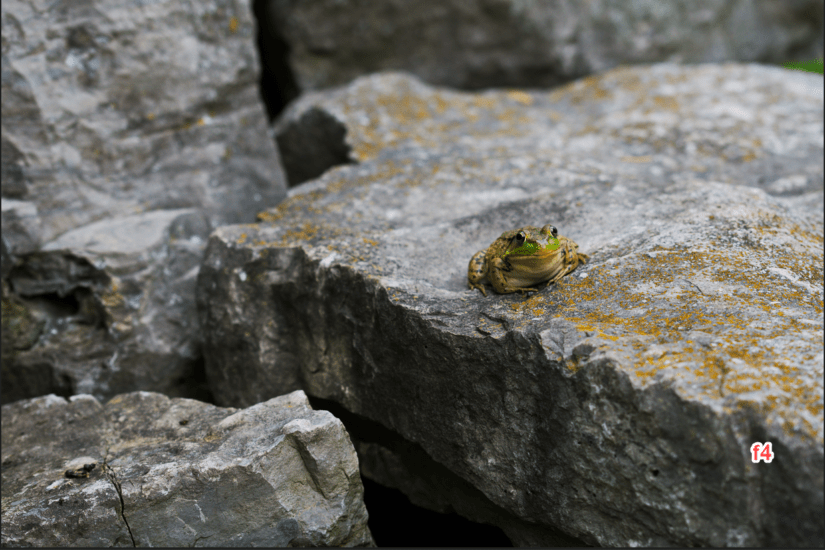
By the time I was almost filling the frame, I reviewed what I had and decided that while I liked the out-of-focus background, using f4 for the aperture was too large for a close-up as the body of the frog was blurry when the eyes were in focus.

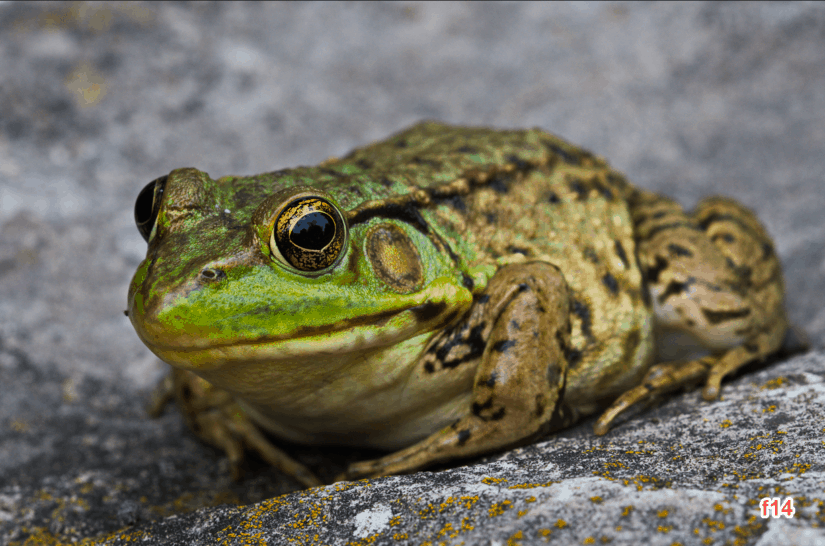
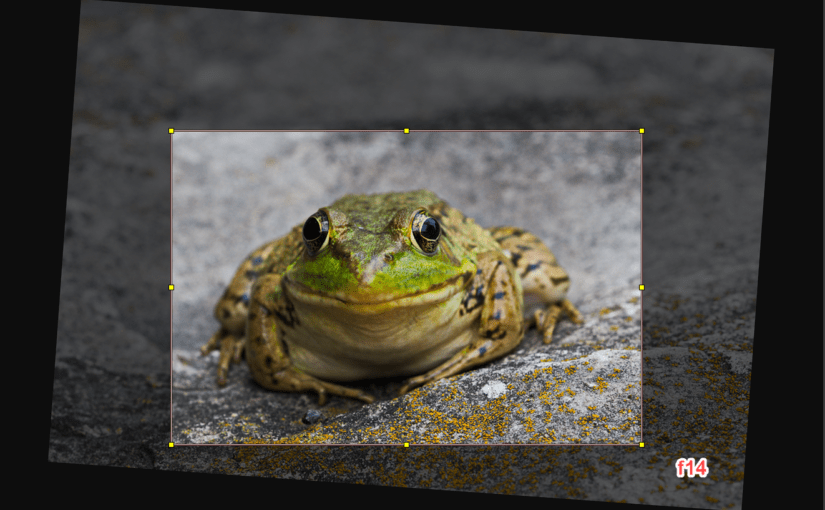
For the remainder of the photos, I stopped down to f14, and also started to move around to the side to not only get a different view, but also bring the frog’s body into the same plane as the eyes, so more was in focus. Both types of shots work, in different ways, and now I had a choice.
The frog was now either getting used to me or quite possibly was totally indifferent. He was pretty sure he could hop into the water faster than that old guy could do anything bad. I moved in closer (by now the end of the lens was less than a couple of feet from the long-suffering frog) and took more photos.
After the clicks
I finished up with 13 usable photos. So that was the easy part, and then the editing could begin. I rated five of the 13 as a “four” (out of five). The head-on shots with pretty much just the eyes in focus work in some cases, but the macro lens made these shots too cartoonish, and I didn’t do any real work on these, although I did experiment with straightening him up a bit, as he was sitting on a slanted bit of rock:
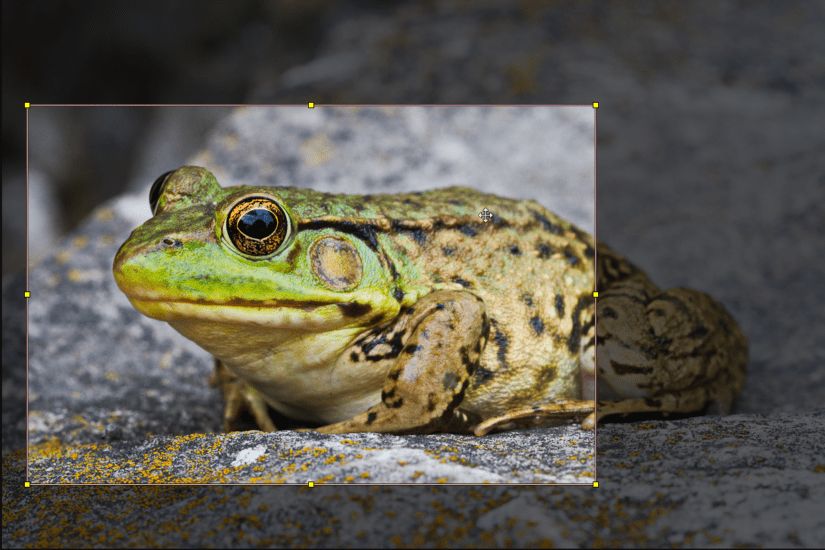
I started to crop (choose a smaller portion) the better images. For something like a blog post, I would probably crop like the image below. Cutting out the back legs to make the eye prominent on two one-third boundaries was a consideration, especially as the rear leg was not as sharp, and I quite liked this version.
However, I was planning to post this on FaceBook, and portrait images get a lot more attention because they fill a phone screen and really pop out of the stream, so I looked at an alternate crop.
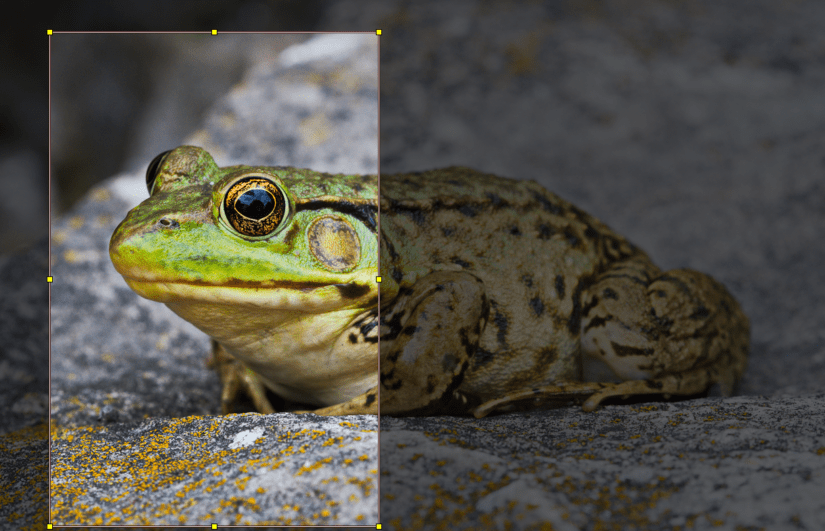
I liked that I could still feature the eye on a one-third boundary, and this way the eye is really the defining part of the image. Although this is less than half the full frame, there is still plenty of resolution for FaceBook. So this became my image. Except that I left out a few details.
Developing the images
I choose to take photographs in RAW format. This is too deep for the current topic, but a short explanation would be that a jpg image, like the one produced by most phones, is the result of a number of decisions made by the camera designer, or in some cases by settings on the camera or phone. While some of these can be modified later, the scope for making changes after the photo is taken is relatively small. A RAW image leaves these decisions for the photographer to determine later and allows for a considerable range of changes.
All of the images I’ve shown above were actually processed to some extent so they would look quite decent in this post. But here’s what the image would look like without any of those changes:
It looks a bit washed out, right?
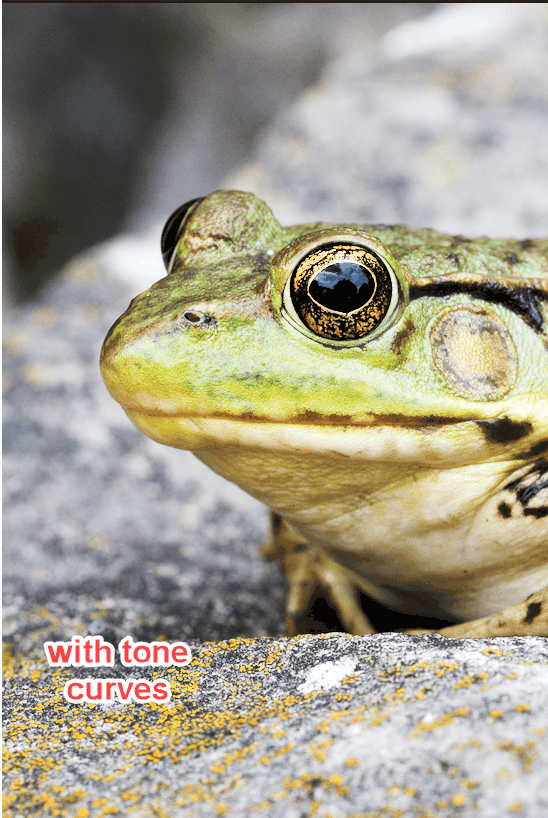
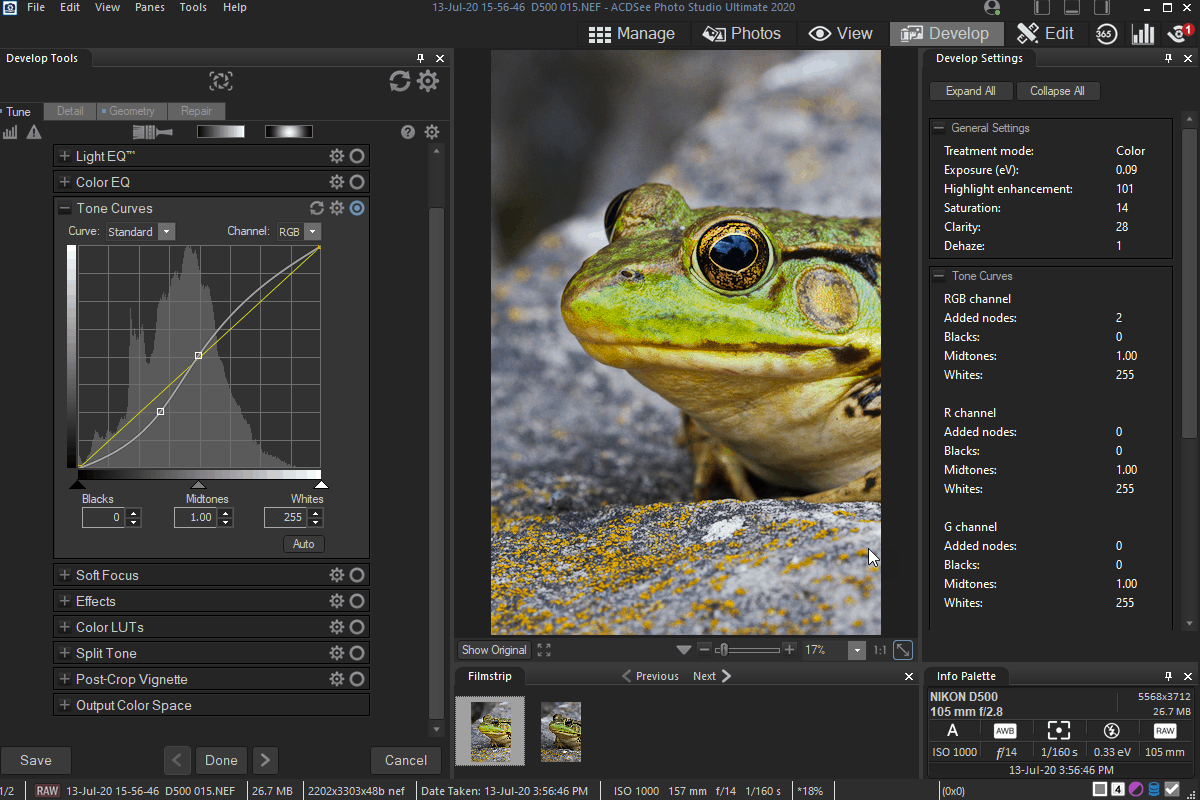
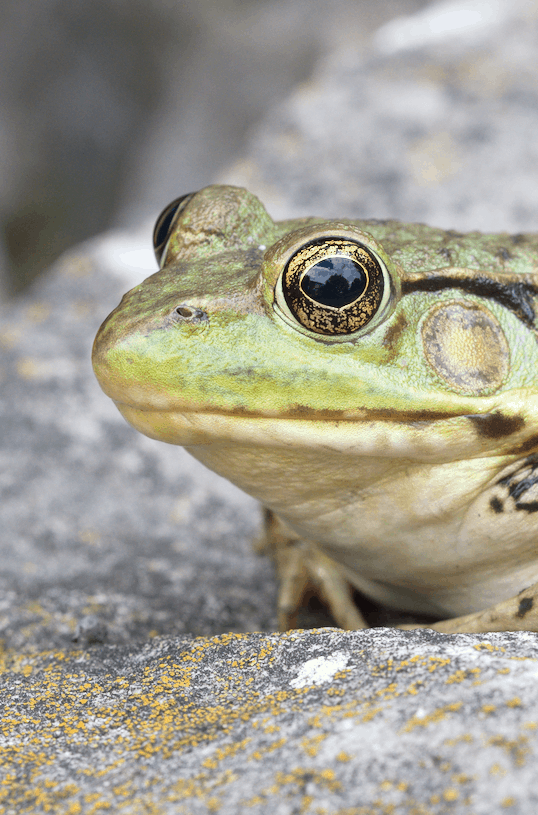
I normally apply a tool called “Tone Curves” before I do anything else, and by darkening the darker parts and brightening the brighter parts, I can increase the contrast in the image and make the subject begin to pop, especially if the background is darker, as it often is.
Finally I adjust things like exposure, saturation and sharpness as necessary. It wasn’t done in this photo, but in some shots there may be a very intrusive twig or other distracting feature which can be removed to further improve a photo.

The photo above is the result of working on one of the images. In this case there were two shots which were quite similar, and I used a feature of my software which lets me compare several images side by side to make the final choice:
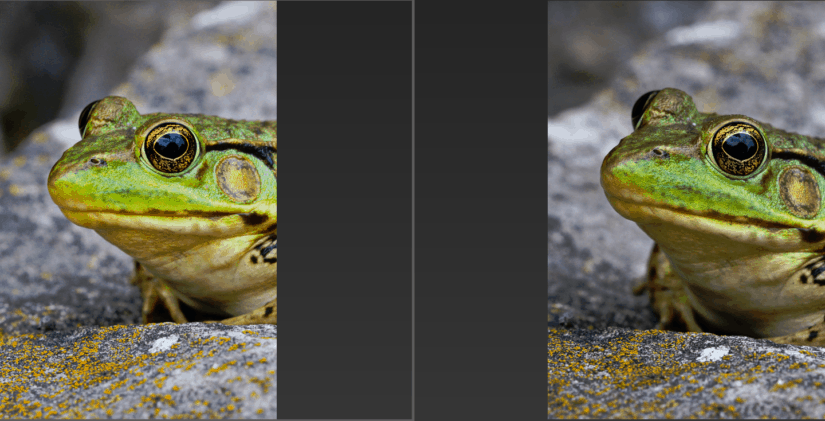
I think it was the one on the left that I chose.
So there you have it. What goes on to get a memorable photo (besides the “click”) is really quite significant. Actually, what I’ve described is relatively tame compared with what a professional photographer may do. Is it worth it? Well, it depends on the photograph, but do you remember the first photo I took ? If I had stopped there we’d never see the golden flecks, or the clouds and trees reflected in his eye. I think it was worth the effort.
In case you’re wondering, I use ACDSee Ultimate 2020 as my photo editing and digital asset management software.