One of the interlock pavers was sitting up and causing a problem, so I lifted it to take a look. And then I lifted another dozen or so before I could fix it. Along the way, I invented and made an interlock tamper tool that made levelling the limestone screening really simple.
Sumac roots can really mess up your interlock paving
When I lifted up the raised paver, I found a root that had formed a huge “knot” which had actually lifted the paver. When I took up more pavers surrounding the problem, I found the roots expanding into the paver cracks and actually growing into tall thin rectangular cross-sections. However, most of it was close to the surface and came up quite easily.

Oscillating saw
Where the root system seemed to be going further than I was willing to follow, I found that a Dremel oscillating tool fitted with a saw blade was very handy for cutting off a root right at the point where it ran under a paver, and this was better than tugging at the root and then having to re-seat a disturbed stone.
Cutting the roots is a compromise between lifting every stone in the pathway and leaving roots which can potentially grow into new Sumac trees. You have to stop somewhere.
Clean up
I tried to get most of the organic matter out of the limestone screening, along with any weeds which had been growing in the cracks, and then it was time to put the jigsaw back together.

Levelling the limestone screening base
In the past, I have found that using a full paver to test fit the level was not ideal. It’s heavy; it doesn’t come out cleanly, but nearly always makes a dent in the screening as I lift it; and for the last stone, getting it out again if the level was off is a royal pain. My solution in the past has been to use a partial stone, but it still wasn’t easy to handle. In fact, what it needed was a handle.
Getting a handle on tamping
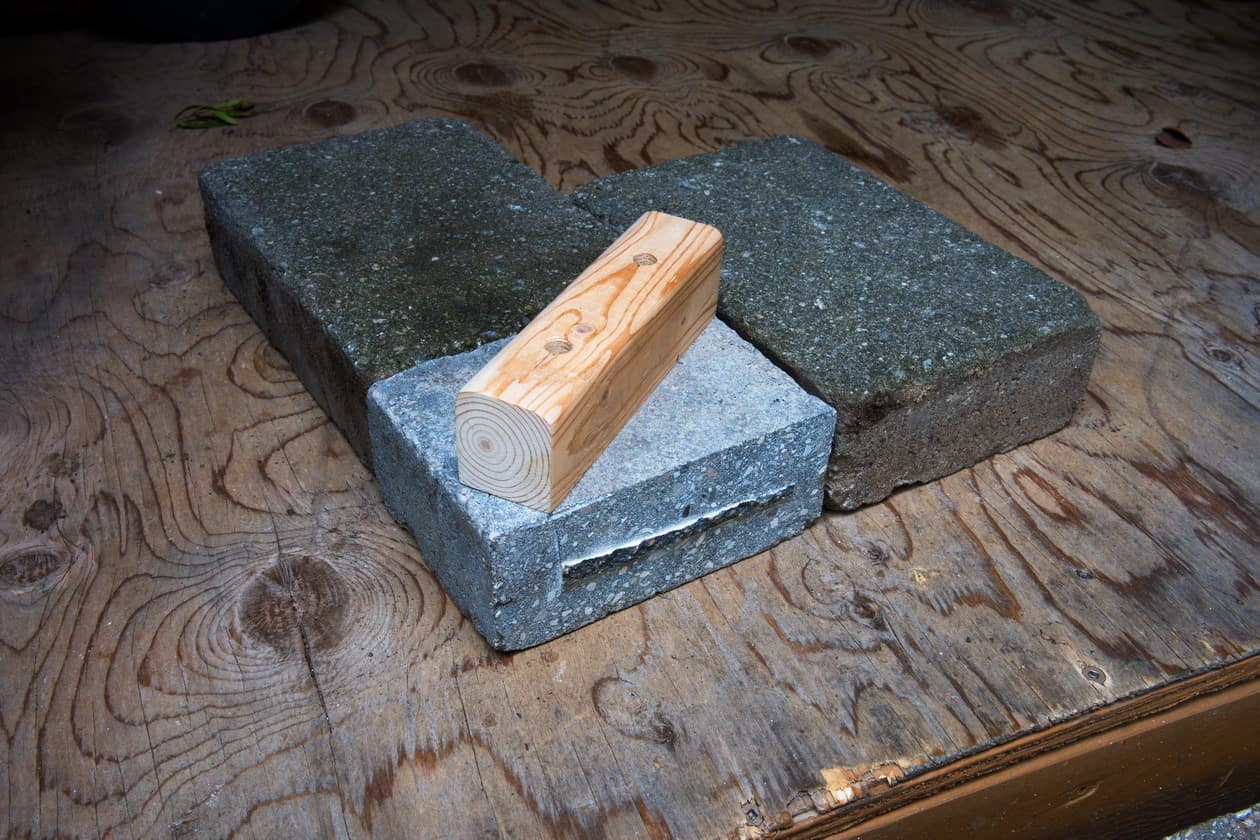
Luckily, I had a number of spare stones, although I couldn’t find a half stone anywhere – or, at least, I didn’t find one until after I had cut a full stone in half! My handle came from the scrap bin, and was a short piece of 2×4 that had been cut in half lengthwise. That gave it a flat face to mate with the stone and a nicely rounded face to fit in my hand.
I drilled two holes to deeply countersink the screws – just so I didn’t have to use extra long ones – and continued through to the bottom with a smaller drill just big enough for the screw shank. I stuck masking tape on the paver face where the screws would meet the stone, and marked the locations by putting a screw in each hole and tapping it with the handle in position. I found the screw made a mark on the tape that was easy to see (clearer than a tiny dent on a rough paver) and I then marked a large “X” on the tape with a black pen.
Knowing how well I can drill a hole with a carbide-tipped drill, I just drilled one hole to start, inserted a plastic wall anchor and put the screw in far enough to engage the anchor. Then I tested the other mark to see if it was still in the right place, and of course it wasn’t, so I scribed an arc on the tape with the second screw, and re-marked the location. This time I took extra care and got the hole where the second screw also found the anchor.
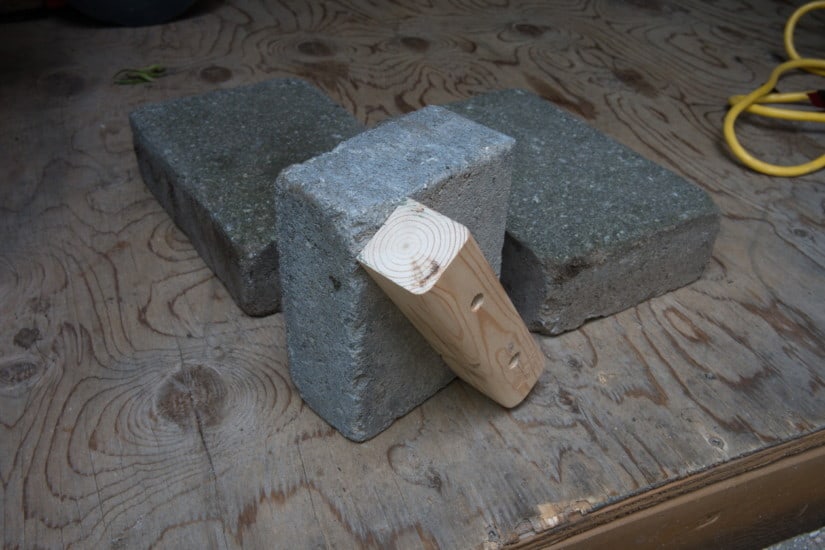
Multi-purpose paver tamper, leveller, scraper
The new tool works well. It can be used to scrape the screening where there is too much, and then tamp it down. Once the scraping and tamping brings the top of the tamping stone so it is level with the existing stones, you know the level is correct. By working around the edges of the area, it’s possible to get the base level not just inside a half brick opening, but out into the adjacent area. This way you are always referencing several existing tops, rather than just one, so the result is both accurate and fast.

Note that the resulting surface is aligned to the surrounding surface – it will be a smooth surface, but only as level as the original installation. I have used it to re-lay areas about four stones across with good results, but obviously any errors will accumulate, and larger areas would need to be checked with a straight-edge to make sure you’re not ending up with a dip or a bump.
It’s a keeper
I love the way this tool speeds up the process. It even acts as a hammer to tap stones into place – although this function should be used with caution! For sure it works well to stop the plastic polymeric sand bags from blowing around. Versatile.
This is strictly a homeowner’s tool. Professional interlock installers would need a separate one for each size of paver, or make one for each job, which is probably not worth it – besides they can probably eyeball the level and wouldn’t need this. But for me, this is definitely a keeper!
There’s a short video of me digging out roots and using my tamper to help re-lay the disturbed pavers: